With help from other experts, we’ve compiled some tips and tricks for caring for and repairing wood surfaces throughout your home.
Everyday wear and tear can wreak havoc on wood surfaces. From scratches and discoloration to water damage and chips, things happen. But when well-cared for, wood furniture, doors and trim can last longer than a lifetime.
With help from other experts, we’ve compiled some tips and tricks for caring for and repairing wood surfaces throughout your home.
Disguising stains and discoloration
If your wood furniture and other surfaces were properly stained, the finish should protect against stains. There are a variety of stains you might come across, including:
Water stains: Use liquid furniture polish and buff the surface firmly. If that doesn’t work, wipe the stained surface lightly with denatured alcohol.
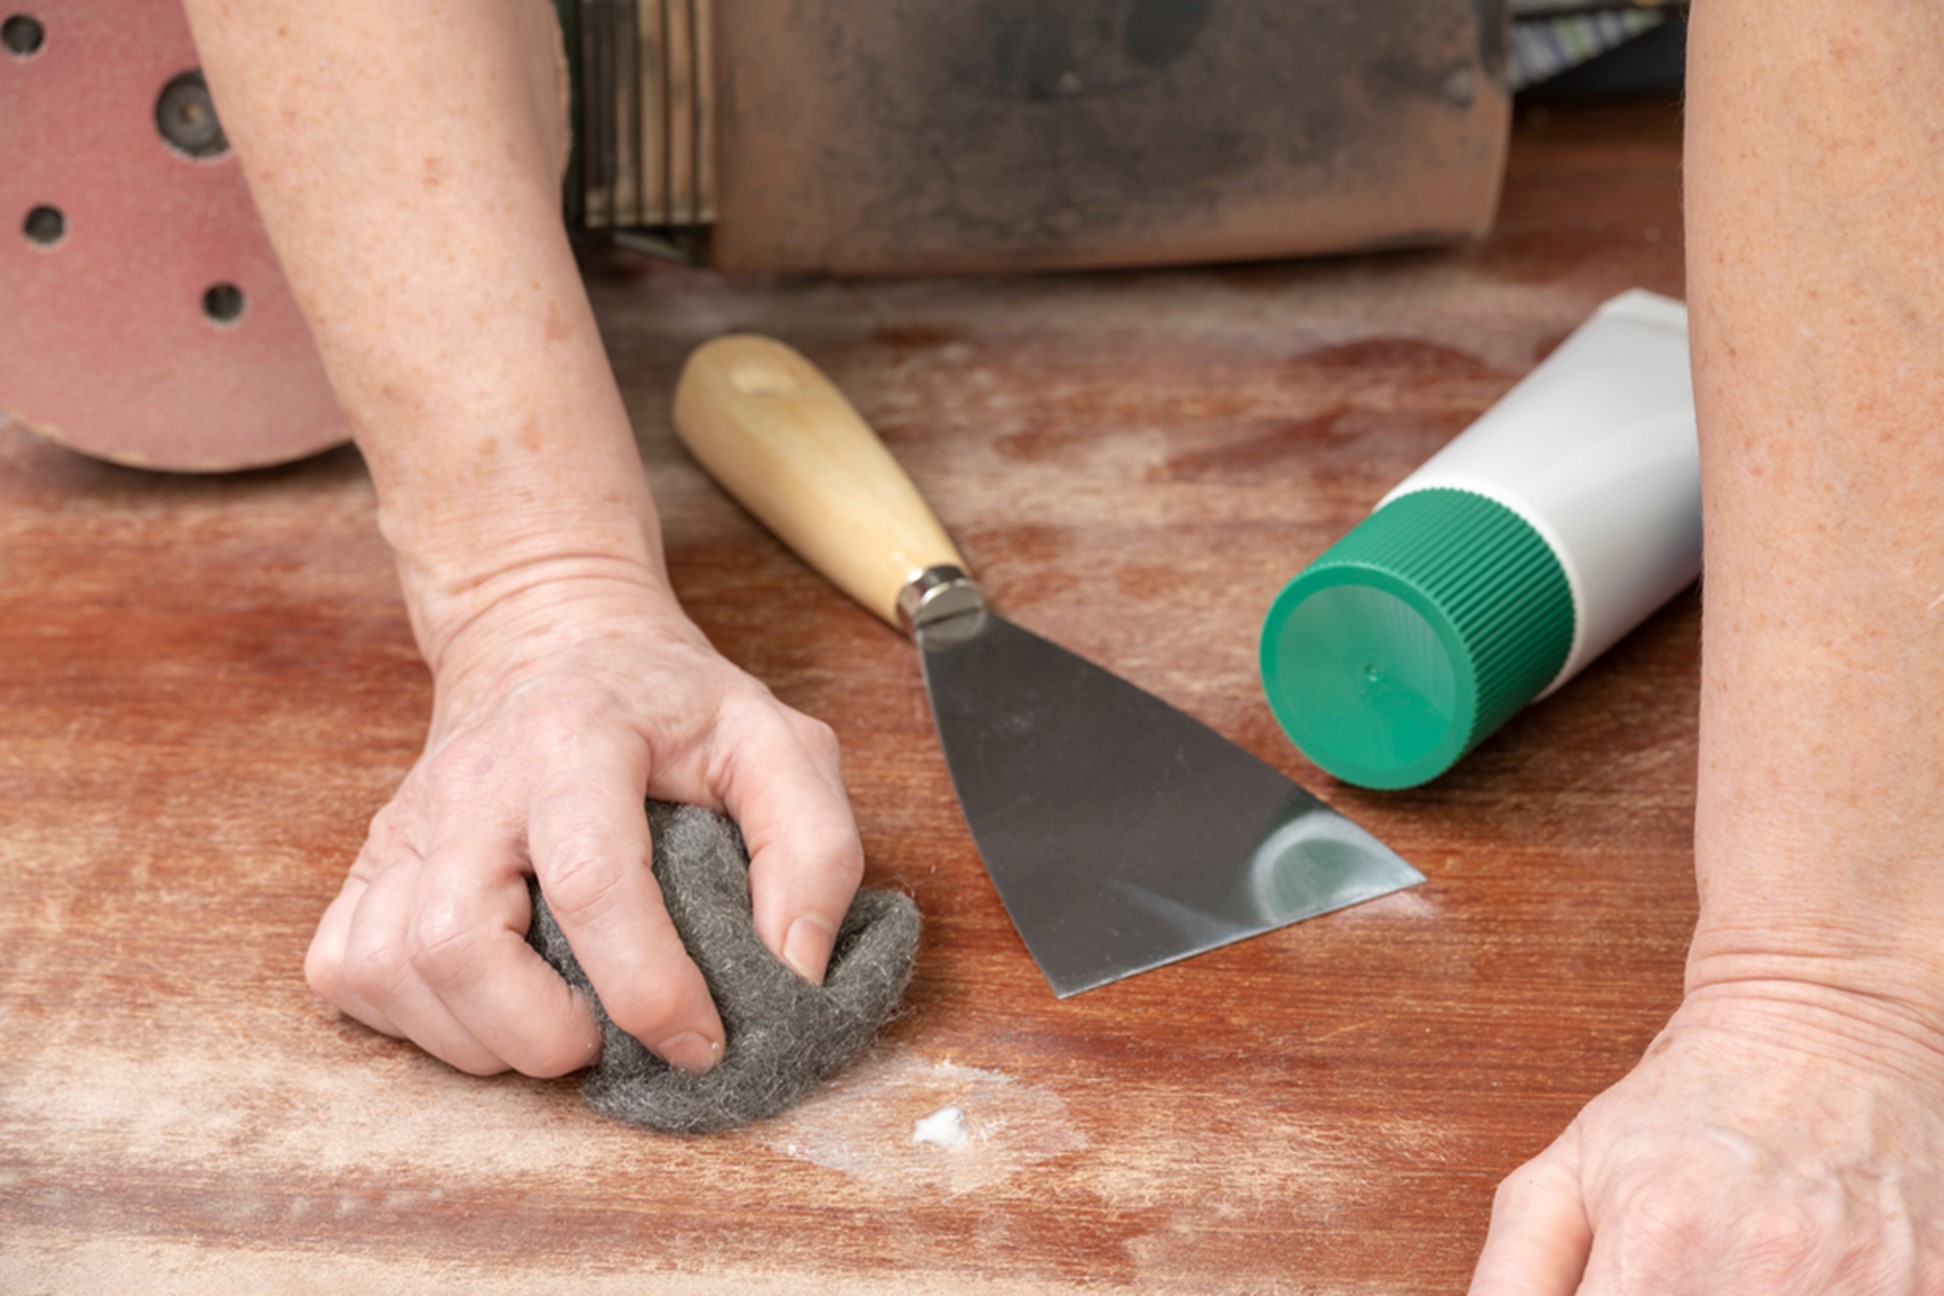
Blushing: To get rid of this hazy film, buff the surface gently and evenly with steel wool dipped in linseed oil. Work with the grain, rubbing evenly, then use a soft cloth to wipe clean the wood, apply a couple coats of hard furniture wax to the surface and buff until it shines.
Black spots: A pox on wood surfaces, these stains have penetrated the finish and gotten into the wood itself. It’s impossible to remove these without damaging the finish, so the only option is to strip and refinish the entire piece.
Ink stains: Like black spots, deep ink stains require refinishing an entire piece. Lighter stains, however, can be removed by buffing the stained area.
Grease, tar, paint, crayon and lipstick: Thankfully, most of these stains sit on the surface of your furniture. Buff the area gently (or pry it up with a putty knife), wax and polish it.
Wax and gum: Get some ice out of the freezer, hold it against the wax or gum to freeze it and pry it up. Then, buff the surface gently and wax and polish it.
Refinishing
Unfortunately, issues like gouges, deep scratches, burns and other damages require pieces to be totally refinished. While spot refinishing is possible, it’s not always successful and might require completely refinishing your wood surface anyway.
To hide smaller scratches, rub a walnut, pecan or Brazil nut on the affected surface; the oil will darken the scratch. To repair deeper gouges and scratches, you may have to fill them in. The DAP WOODPRO All-Purpose Wood Filler is latex-based and specially formulated to create a surface that looks like real wood. It can also be stained and painted, blending right in.
Fixing dings and dents
These shallow chips and dents are easy to fix by removing the finish around the damaged area, filling the spot and finishing it. Try the DAP WOODPRO-X All-Purpose Wood Filler with DryDex Dry Time Indicator, which can be used to repair cracks, gouges, holes and other surface issues on furniture, woodwork, moulding, doors and more. It looks and acts like real wood and can be sanded, planed, cut, drilled, stained and painted.
Repairing cracks and gouges
These are common problems for well-loved furniture or high-traffic areas in your home. You can fill cracks and gouges with a putty, making them level with the rest of the wood’s surface, and then stain the area. DAP’s wood fillers are great for repairs like these.
Lifting burns
Most burns to furniture or other wood around your home result from cigarette burns. Luckily, these are easy to remove by buffing the area with steel wool and mineral oil, wiping it clean, then waxing and polishing the surface.
If your piece was burned more severely, the charred wood might need to be completely removed, sanded down and refinished. Deeper burns can be repaired using a moldable filler.
Fixing veneered surfaces
Veneers are thin layers of wood glued to solid bases. They’re very vulnerable to damage and often blister, crack and peel. However, as long as the veneer layer is in good enough shape, HowStuffWorks says, it can be repaired.
Blisters: Using an iron, flatten these with heat.
Loose veneer: This often occurs at the corners and edges of veneered surfaces and can usually be re-glued. Scrape out the old glue without lifting the veneer further, clean the surface and use an adhesive to bond the two surfaces. DAP’s RapidFuse All-Purpose Adhesive bonds to virtually anything, including wood, plastic and more.
Cracks and breaks: Broken veneers can usually be re-glued; be sure to carefully align the broken edges and press them together firmly.
Chips or missing veneer: Replacing a whole veneer is easy, but finding a new, smaller piece to fill in chips is less so. You need to patch the area with a similar veneer from another piece of furniture.
Replacing hardware
Hardware often shows the most wear and tear on your furniture. Loose hardware can be tightened using a screwdriver, but in many cases, you’ll want to replace it altogether. Luckily, hardware is relatively inexpensive and easy to install with the most basic tools.
No matter what has happened to your furniture, doors or trim, there is likely a way to repair them without breaking the bank – or replacing the pieces completely. A little TLC for the wood surfaces in your home goes a long way!